If your Whirlpool upright freezer is malfunctioning, first check the power supply and thermostat settings. Then, inspect the door seal for any damage or debris buildup.
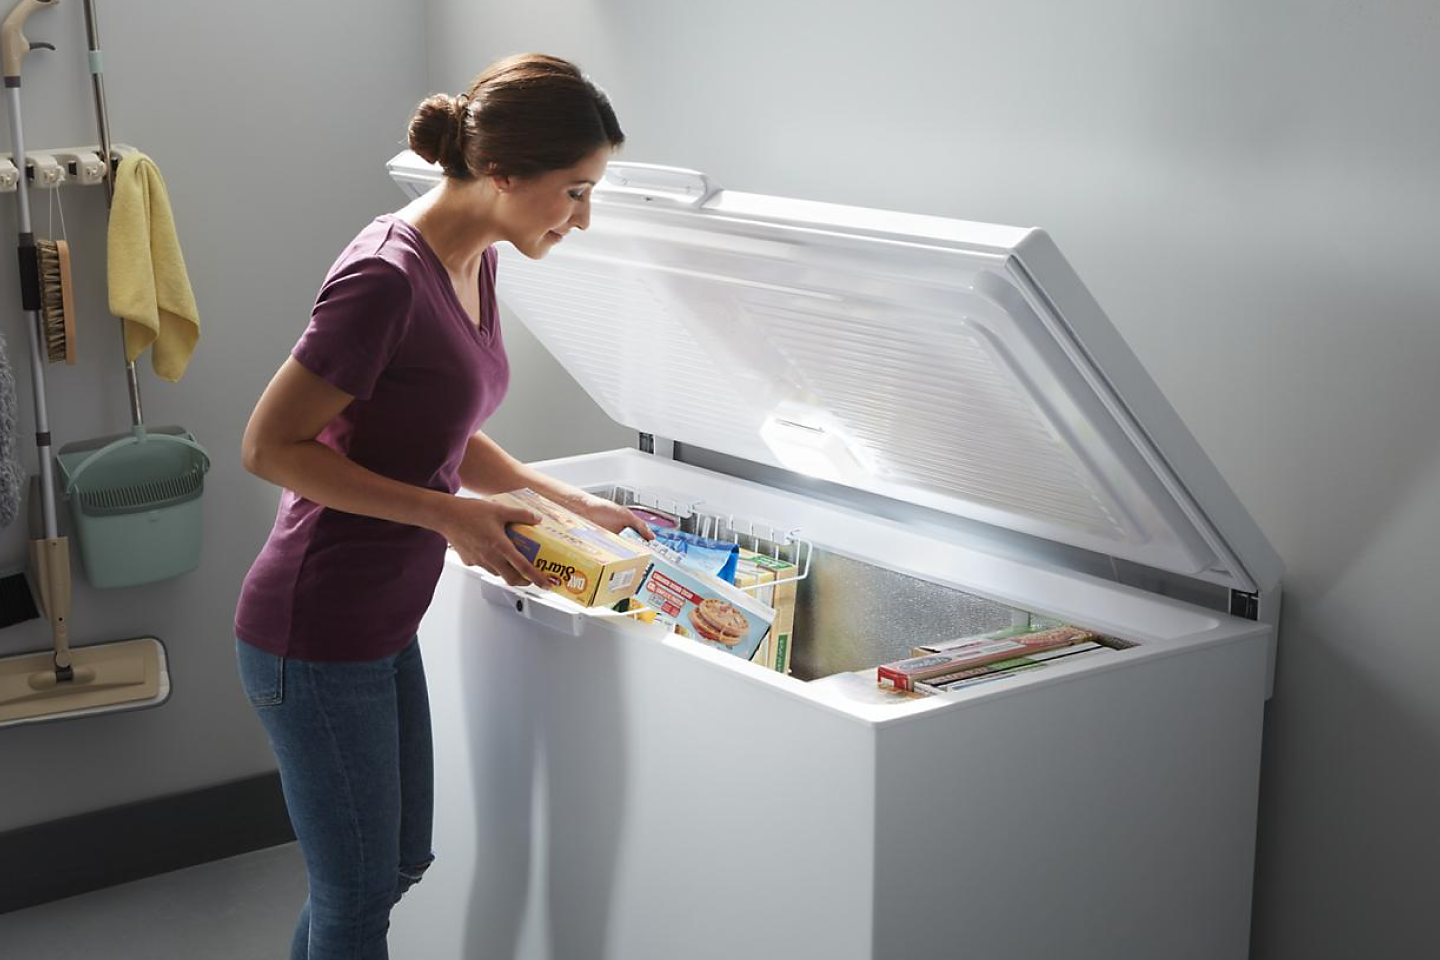
A malfunctioning upright freezer can be a major inconvenience, causing food spoilage and potential financial loss. Whether it’s not cooling properly, making strange noises, or displaying error codes, troubleshooting the issue is crucial to avoid costly repairs or replacements. In this guide, we’ll explore common problems with Whirlpool upright freezers and provide step-by-step troubleshooting tips to help you diagnose and resolve the issue.
By following these simple steps, you can potentially save time and money while ensuring your freezer operates efficiently and reliably.
Credit: www.whirlpool.com
Introduction To Whirlpool Upright Freezer Troubleshooting
Troubleshooting a Whirlpool upright freezer? Learn how to quickly address common issues like temperature fluctuations and unusual noises to keep your freezer running smoothly. With these tips, you can troubleshoot your Whirlpool freezer efficiently and prevent potential problems.
If you own a Whirlpool upright freezer, it can be frustrating when it suddenly stops working or starts showing signs of trouble. However, with the right knowledge and skills, you can troubleshoot the problems and save yourself time and money. In this blog post, we will provide you with an introduction to Whirlpool upright freezer troubleshooting, including common issues and solutions, and the benefits of DIY fixes.
Common Issues And Solutions
One of the most common issues with a Whirlpool upright freezer is that it stops cooling. If you notice that your freezer is not maintaining a consistent temperature, it could be due to a faulty thermostat, a malfunctioning defrost timer, or a clogged air vent. To fix this issue, you can try resetting the thermostat, replacing the defrost timer, or cleaning the air vent.
Another issue that you may encounter is frost buildup inside the freezer. This can be caused by a faulty door gasket, a blocked defrost drain, or a malfunctioning defrost heater. To resolve this issue, you can try replacing the door gasket, clearing the defrost drain, or repairing the defrost heater.
Benefits Of Diy Fixes
While it may be tempting to call a professional to repair your Whirlpool upright freezer, DIY fixes can save you time and money. By troubleshooting the issues yourself, you can avoid costly service fees and potentially fix the problem faster. Additionally, performing simple repairs can help you extend the lifespan of your freezer and prevent future issues from occurring.
In conclusion, understanding the common issues and solutions associated with Whirlpool upright freezer troubleshooting can help you keep your appliance running smoothly and efficiently. With the benefits of DIY fixes, you can feel confident in your ability to troubleshoot and repair your freezer on your own.
Identifying Your Freezer Model
When troubleshooting your Whirlpool upright freezer, the first step is identifying your freezer model. By locating the model number, you can effectively troubleshoot and find specific solutions.
Locating The Model Number
The model number of your Whirlpool upright freezer is typically located on the inside wall of the appliance.
Why Model Identification Is Crucial
Identifying your freezer model is crucial for finding accurate troubleshooting steps and ordering the correct replacement parts.
Initial Diagnostic Steps
When troubleshooting issues with your Whirlpool upright freezer, it’s important to start with the initial diagnostic steps to identify the potential problems. By following a systematic approach, you can effectively pinpoint the issues and take the necessary steps to resolve them.
Visual Inspection
Begin the troubleshooting process with a visual inspection of the freezer. Check for any visible signs of damage, such as dents, scratches, or leaks. Inspect the door gasket for any tears or gaps that may be causing a loss of cold air. Ensure that the freezer is positioned on a level surface to prevent any operational issues.
Listening For Unusual Noises
Next, listen for any unusual noises coming from the freezer. Unusual hums, clicks, or rattles could indicate potential issues with the compressor, fan motor, or other internal components. Pay attention to the frequency and duration of the noises to provide valuable information for troubleshooting.
Power Problems: The Freezer Won’t Start
When your Whirlpool upright freezer refuses to start, it can be a major inconvenience. Understanding the common power problems and troubleshooting steps can help you resolve the issue quickly.
Checking Power Supply
Before diving into complex troubleshooting, start by checking the power supply. Make sure the freezer is plugged in properly and the outlet is functioning. Verify that the power cord is not damaged or frayed.
Resetting The Circuit Breaker
If the freezer still won’t start, check the circuit breaker. Locate the breaker for the freezer in the electrical panel and reset it by flipping it off and then on again. This can help resolve power issues caused by a tripped breaker.
Temperature Irregularities
Temperature irregularities in your Whirlpool upright freezer can lead to issues with food preservation and energy efficiency. Understanding how to troubleshoot and address these irregularities is essential for maintaining the optimal performance of your appliance.
Adjusting The Thermostat
If you notice inconsistent temperatures in your Whirlpool upright freezer, the first step is to check the thermostat settings. Ensure the thermostat is set to the recommended temperature for freezer storage, typically between 0 and 5 degrees Fahrenheit. Adjust the thermostat if necessary and monitor the temperature over the next 24 hours to see if the irregularities persist.
Dealing With Overheating
Overheating in an upright freezer can disrupt its cooling capabilities and lead to temperature irregularities. Inspect the condenser coils for dust and debris, and clean them if necessary to improve heat dissipation. Additionally, ensure that the freezer has proper ventilation around the exterior to prevent overheating. Avoid placing the freezer near heat sources such as ovens or direct sunlight, as this can also contribute to overheating issues.
Frost Buildup Issues
When it comes to your Whirlpool upright freezer, dealing with frost buildup issues can be frustrating. Not only can excess frost affect the efficiency of your freezer, but it can also lead to temperature fluctuations that may compromise the quality of your frozen goods.
Defrosting Techniques
To address frost buildup in your Whirlpool upright freezer, consider utilizing the manual defrosting method. Unplug the freezer and remove all items. Allow the freezer to thaw naturally or use a fan to expedite the process. Avoid using sharp objects to chip away at the ice, as this can damage the interior of the freezer.
Preventing Excess Ice
One effective way to prevent excessive ice buildup in your Whirlpool upright freezer is to ensure that the door is tightly sealed. Regularly inspect the door gasket for any signs of wear or damage, and replace it if necessary. Additionally, avoid overloading the freezer with warm or moist items, as this can contribute to frost accumulation.
Drainage Problems
When it comes to your Whirlpool upright freezer, drainage problems can lead to issues like water leakage or ice buildup. It’s important to address these issues promptly to prevent any damage to your appliance.
Clearing The Drain Hose
1. Unplug the freezer before starting any troubleshooting.
2. Locate the drain hose at the back of the freezer.
3. Check for any blockages in the hose.
4. Use a small brush or pipe cleaner to clear the debris.
Unclogging The Drain Pan
1. Access the drain pan located at the bottom of the freezer.
2. Inspect the pan for any clogs or ice buildup.
3. Remove any debris using a sponge or cloth.
4. Clean the drain pan with a mixture of warm water and mild detergent.
Door Seal And Alignment
To troubleshoot a Whirlpool upright freezer, it is important to check the door seal and alignment. If the door is not sealing properly or is misaligned, it can cause the freezer to work inefficiently, resulting in frost buildup and higher energy bills.
Regularly checking and maintaining the door seal and alignment can prevent these issues.
Inspecting The Seal
An ineffective door seal can cause your Whirlpool upright freezer to lose its cooling efficiency. Inspecting the seal is the first step in troubleshooting this problem. To do this, close the door with a piece of paper between the seal and the frame. If the paper slips out easily, it is an indication of a weak seal. Check if there is any damage to the seal, such as cracks or tears. If you find any damage, it is best to replace the seal.
Fixing Door Misalignment
If you have inspected the seal and found no damage, the issue may be with the door alignment. Misaligned doors can cause the seal to lose its grip, causing cooling issues. To fix this problem, first, check for any damage to the hinges or door. Tighten the screws on the hinges if they are loose. If the door is still misaligned, loosen the screws on the hinges and align the door. Tighten the screws again, and check the seal by repeating the paper test.
A weak door seal or misaligned door can cause your Whirlpool upright freezer to lose its cooling efficiency. By inspecting the seal and fixing door misalignment, you can troubleshoot and solve these issues. Always remember to check for any damage, and replace or repair the parts as necessary.
Unusual Noises And Vibrations
Dealing with unusual noises and vibrations coming from your Whirlpool upright freezer can be unsettling. Identifying the source of these disturbances is crucial for preventing potential issues.
Identifying The Source
To identify the source of the noise, start by checking if the freezer is properly levelled. Check for any loose items inside the freezer that may be causing the vibrations. Inspect the condenser fan and the evaporator fan for any obstructions.
Silencing Your Freezer
To silence your freezer, tighten any loose screws or hardware that may be causing the vibrations. Ensure the freezer is placed on a stable, level surface. Cleaning the condenser and evaporator fans regularly can also help reduce noise.

Credit: m.youtube.com
Electronic Control Panel Malfunctions
In troubleshooting a Whirlpool upright freezer, electronic control panel malfunctions can disrupt temperature settings and cause cooling issues. These malfunctions may require resetting the panel or professional repair services for optimal freezer performance.
Resetting The Control Panel
If the electronic control panel malfunctions, resetting it can often resolve the issue. Follow these steps to reset the control panel:
- Unplug the freezer from the power source.
- Wait for 5 minutes.
- Plug the freezer back in.
When To Seek Professional Help
If the control panel issues persist after resetting, it may be time to seek professional assistance to diagnose and repair the problem. Common signs that indicate the need for professional help include:
- Continued error messages on the display.
- Failure of the control panel to respond to reset attempts.
- Unusual sounds or odors coming from the freezer.
Replacing Parts
When it comes to troubleshooting your Whirlpool upright freezer, sometimes replacing parts is the best solution. Understanding how to order the correct components and follow a step-by-step replacement guide can save you time and money. Let’s dive into the process of replacing parts for your Whirlpool upright freezer.
Ordering The Correct Components
Before diving into the replacement process, it’s crucial to ensure you have the correct components for your Whirlpool upright freezer. Here’s a simple guide to help you order the right parts:
- Identify the model number of your Whirlpool upright freezer. This can usually be found on the inside of the door or a sticker at the back of the appliance.
- Visit the official Whirlpool website or contact their customer service to obtain the correct part number for your model.
- Double-check the part number to ensure it matches your freezer’s model before placing an order.
Step-by-step Replacement Guide
Once you have the correct components, it’s time to proceed with the replacement. Follow these simple steps for a hassle-free replacement process:
- Unplug the freezer and empty it of all its contents.
- Locate the part that needs to be replaced, and refer to the user manual for specific instructions.
- Carefully remove any screws or bolts holding the old part in place.
- Replace the old part with the new one, ensuring it is securely attached.
- Plug the freezer back in and test the new component to ensure it’s functioning properly.

Credit: www.whirlpool.com
Professional Vs. Diy Repairs
When it comes to troubleshooting your Whirlpool upright freezer, you may find yourself at a crossroads, deciding between professional and do-it-yourself (DIY) repairs. Each option has its merits, and understanding when to call an expert and the tools and skills needed for DIY repairs can help you make an informed decision.
When To Call An Expert
If you encounter complex issues such as compressor problems, coolant leaks, or electrical malfunctions, it’s advisable to seek assistance from a qualified technician. Their expertise and specialized tools enable them to diagnose and resolve intricate freezer problems efficiently, ensuring the appliance’s optimal performance and safety.
Tools And Skills Needed For Diy
Before embarking on DIY freezer troubleshooting, it’s essential to have a basic understanding of refrigeration systems and possess the necessary tools. A multimeter, screwdrivers, and insulated gloves are among the tools required to safely conduct diagnostic tests and make minor repairs. Additionally, familiarity with electrical safety protocols and the ability to interpret technical manuals are invaluable skills for DIY freezer repairs.
Maintaining Your Freezer Post-troubleshooting
After troubleshooting your Whirlpool upright freezer, it’s essential to maintain its optimal performance. Clean the coils, check the door seal, and defrost regularly to ensure efficient cooling. Keep the freezer organized to maximize airflow and minimize energy consumption. Regular maintenance will keep your freezer running smoothly.
Maintaining Your Freezer Post-Troubleshooting
Regular Cleaning Tips
Regularly clean the interior with mild detergent.
Wipe the exterior with a damp cloth.
Remove any ice buildup inside the freezer.
Setting Up a Maintenance Schedule
Create a monthly cleaning schedule.
Check the door seals for tightness.
Inspect the temperature settings every season.
Frequently Asked Questions
How Do You Reset A Whirlpool Upright Freezer?
To reset a Whirlpool upright freezer, unplug it for 5 minutes, then plug it back in. Alternatively, locate the reset button and hold it for 3 seconds.
Why Is My Whirlpool Upright Freezer Not Freezing?
Your Whirlpool upright freezer may not be freezing due to a faulty thermostat or a dirty condenser coil. Check these components and ensure proper ventilation around the freezer to resolve the issue.
What Is The Most Common Problem On A Freezer?
The most common problem in a freezer is the build-up of ice. This can lead to poor cooling and higher energy consumption.
What Would Cause An Upright Freezer To Stop Working?
Common reasons for an upright freezer to stop working include a faulty thermostat, compressor issues, or a malfunctioning defrost timer.
How To Reset Whirlpool Upright Freezer?
To reset the Whirlpool upright freezer, unplug it for 5 minutes, then plug it back in.
Conclusion
In a nutshell, troubleshooting your Whirlpool upright freezer can save time and money. By following the steps outlined in this post, you can quickly identify and fix common issues. Remember to prioritize regular maintenance to prevent future problems and ensure the longevity of your appliance.