To break in a generator, run it at a varying load for the first 20 hours. Change the oil after this initial period.
Breaking in a generator is crucial for its long-term performance and reliability. This process helps the engine components to seat properly and removes any metal shavings. During the break-in period, run the generator with varying loads to evenly distribute wear.
Avoid running it at full load continuously. After the first 20 hours, change the oil to remove contaminants. This helps to prolong the engine’s life and ensures efficient operation. Regular maintenance following the break-in period will keep your generator running smoothly. Proper break-in and maintenance are key to maximizing the lifespan and efficiency of your generator.
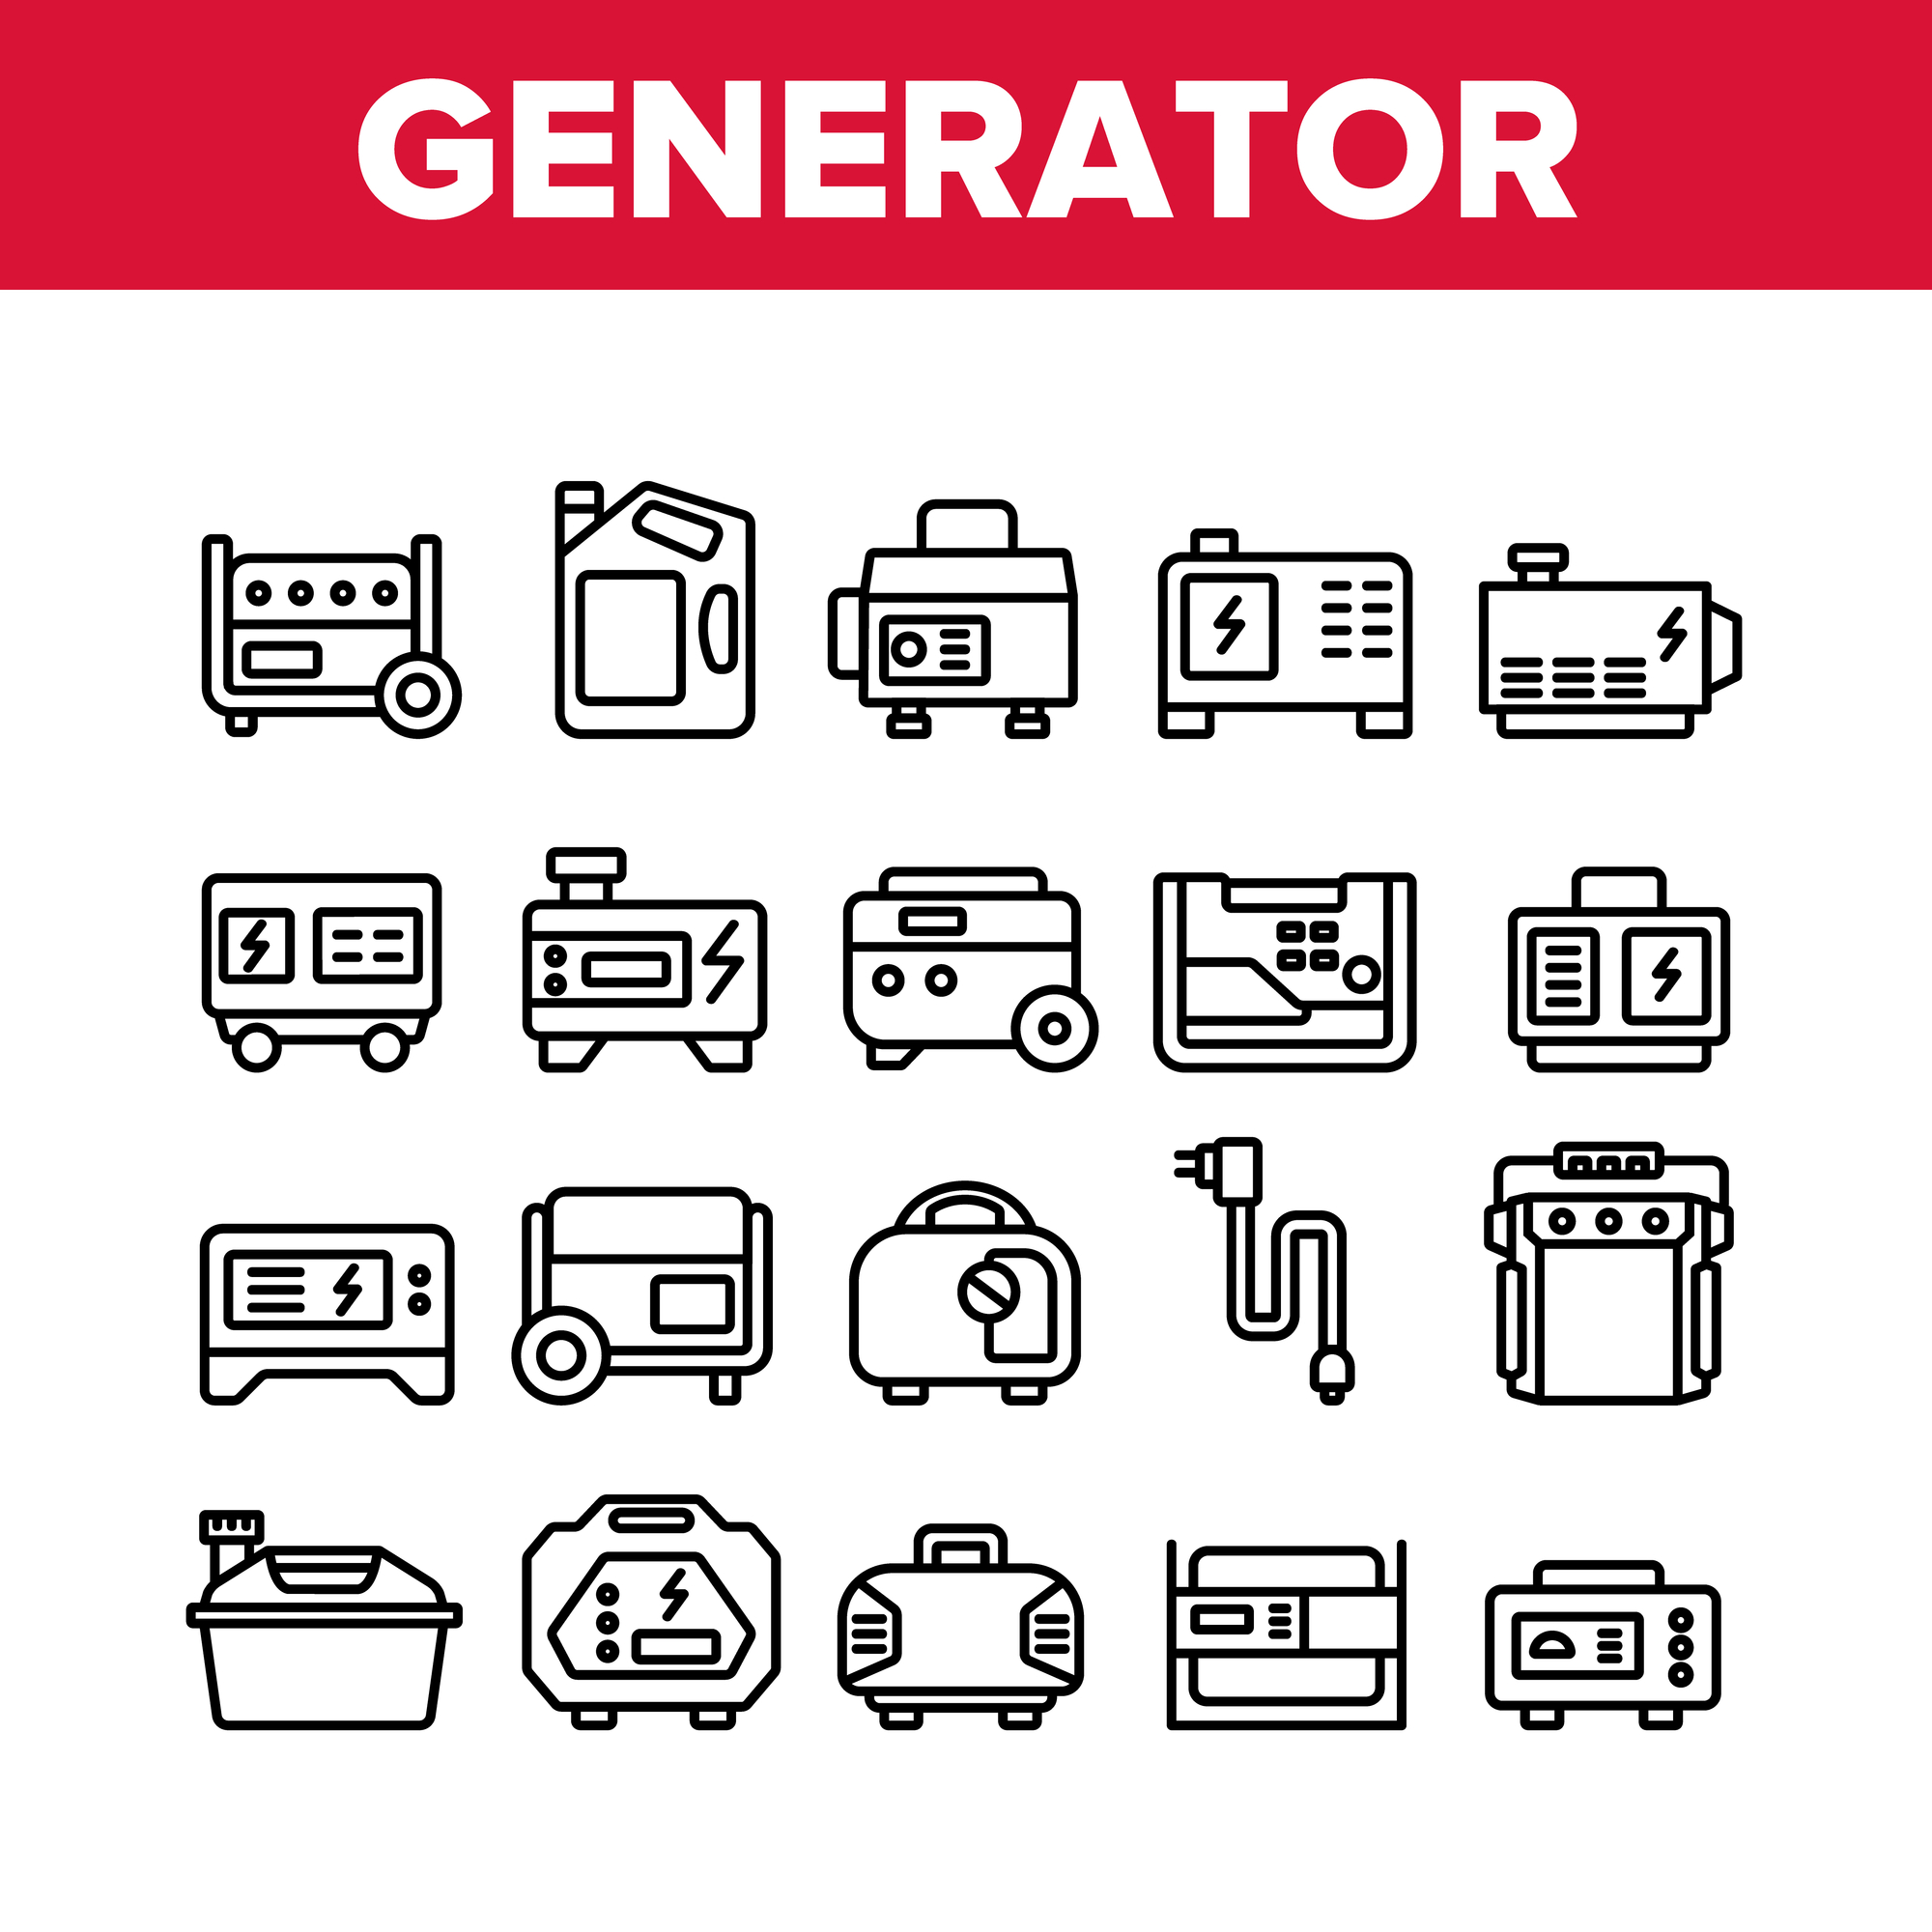
Choosing The Right Generator
Choosing the right generator is crucial. It ensures you have reliable power when needed. This guide helps you make the best choice. We cover the types of generators and the factors to consider. Let’s dive in.
Types Of Generators
There are different types of generators. Each type has unique features. Here’s a quick overview:
- Portable Generators: Easy to move. Ideal for temporary power needs.
- Inverter Generators: Provide clean power. Perfect for sensitive electronics.
- Standby Generators: Automatically start during power outages. Great for home use.
Factors To Consider
Several factors influence your choice. These factors ensure you pick the right generator:
| Factor | Description |
|---|---|
| Power Output | Measure in watts. Ensure it meets your power needs. |
| Fuel Type | Generators use different fuels. Common types: gasoline, diesel, propane. |
| Run Time | Check how long it runs on a full tank. |
| Noise Level | Consider decibel ratings. Quieter models are better for home use. |
| Portability | Portability is key for camping or job sites. |
Remember these factors. They help you choose the best generator. Power output, fuel type, and run time are crucial. Pay attention to noise levels and portability too.
Pre-break-in Inspection
Before starting your generator, conduct a thorough pre-break-in inspection. This step ensures the generator operates smoothly and safely. Let’s delve into the critical aspects of this inspection.
Checking Components
Begin by examining all the essential components.
- Inspect the oil level. Fill if necessary.
- Check the air filter. Ensure it is clean.
- Look over the fuel system. Confirm there are no leaks.
- Verify the spark plug. It should be in good condition.
Ensure all components are in place and functional.
Initial Setup
Set up your generator in a well-ventilated area. Follow these steps:
- Place the generator on a flat surface.
- Fill the fuel tank with fresh gasoline.
- Connect the battery if your generator has one.
- Attach any necessary grounding wires.
Double-check all connections and setup requirements.
By following these steps, you ensure your generator is ready for a proper break-in process.
Initial Startup
Starting a generator for the first time is exciting. It ensures your generator runs smoothly. This section will guide you through the initial startup steps.
Starting Procedures
Follow these steps to start your generator:
- Check the oil level: Ensure the oil is at the recommended level.
- Inspect the fuel: Use fresh, clean fuel. Avoid old or contaminated fuel.
- Check the air filter: Ensure it’s clean and properly installed.
- Turn on the fuel valve: This allows fuel to flow to the engine.
- Set the choke: For a cold start, set the choke to the “closed” position.
- Switch on the engine: Turn the engine switch to the “on” position.
- Pull the starter cord: Pull the cord firmly to start the engine.
First Run Guidelines
Once your generator is running, follow these guidelines:
- Run without load: Let the generator run for 15-20 minutes without any load. This ensures proper lubrication and smooth operation.
- Gradually add load: After the initial run, add small loads incrementally. Avoid overloading the generator.
- Monitor for issues: Listen for unusual sounds. Check for any leaks or smoke.
- Cool down period: After running, let the generator cool down for 5-10 minutes. This prevents overheating and extends the generator’s life.
Following these steps ensures a smooth initial startup for your generator. Proper procedures and guidelines ensure longevity and reliability.

Credit: youtube.com
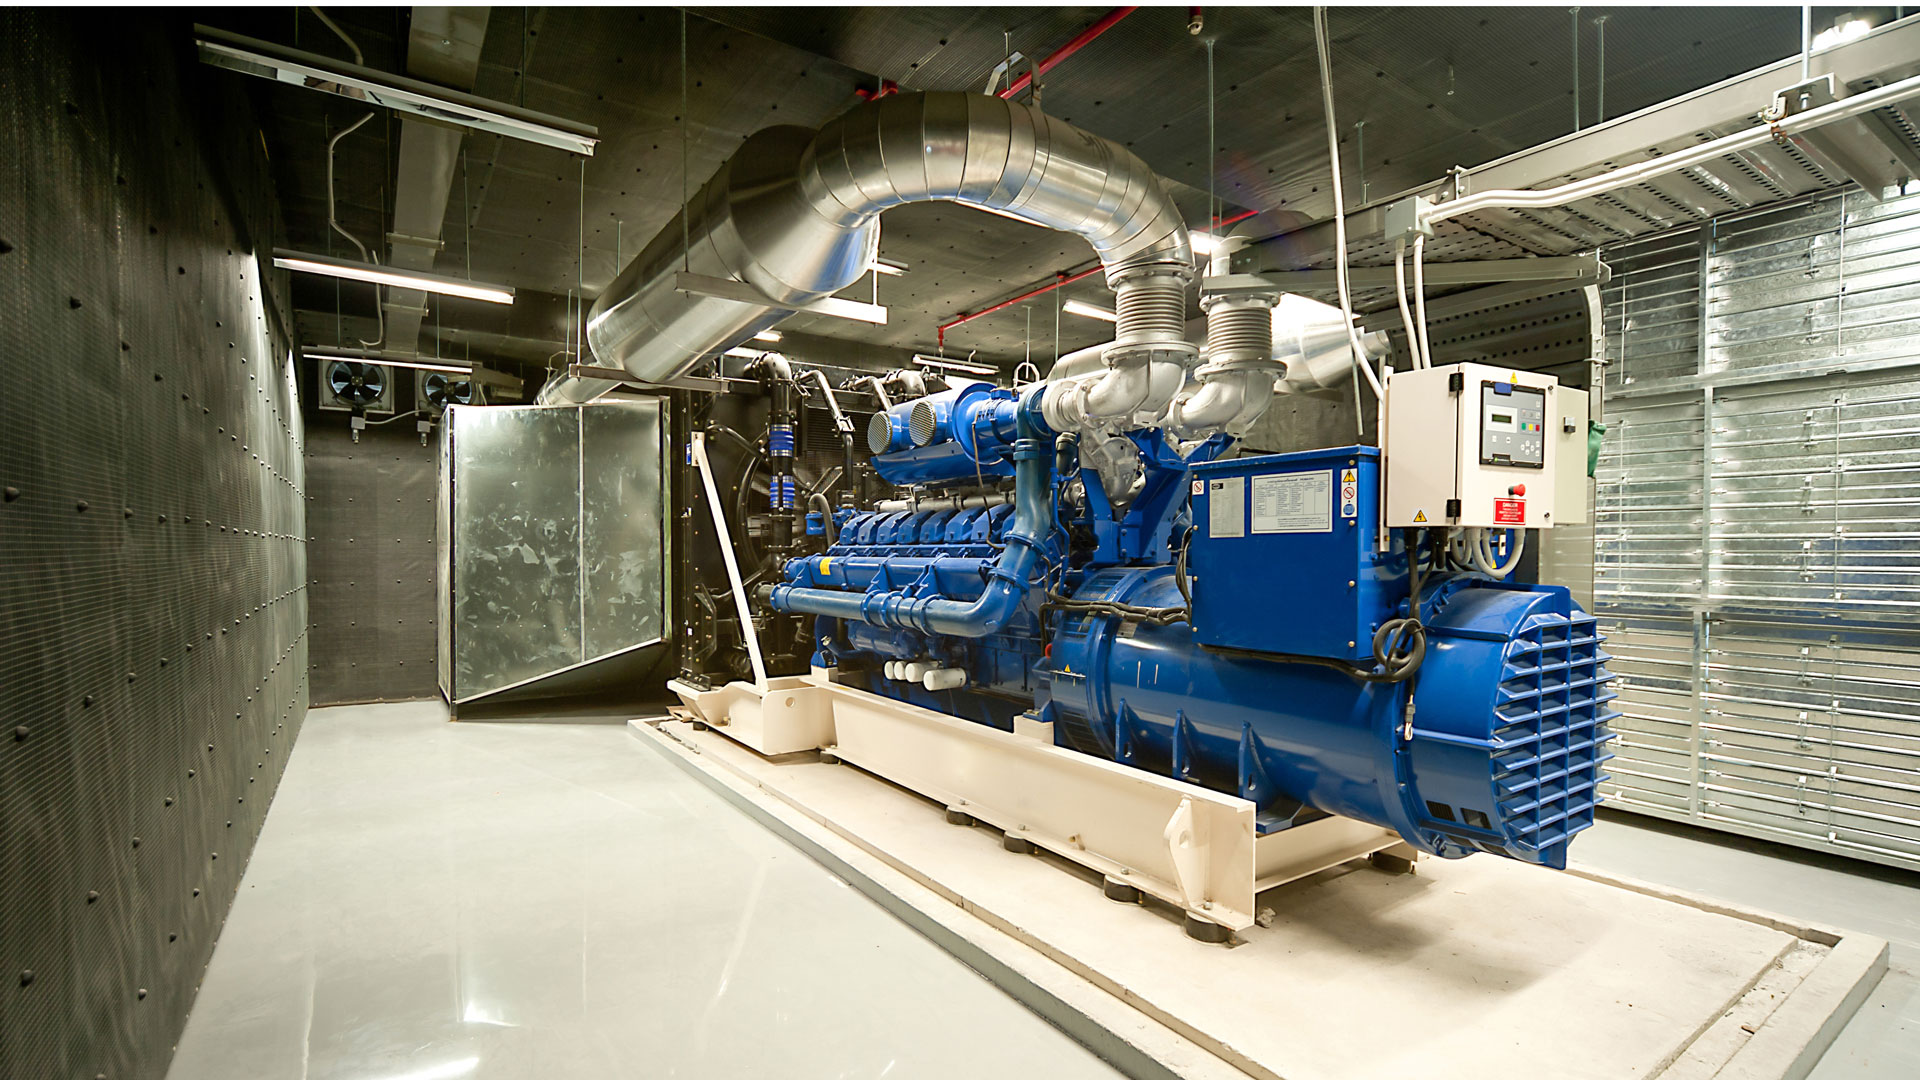
Engine Load Management
Breaking in a new generator requires careful engine load management. This process ensures the engine runs smoothly and lasts longer. Proper load management involves balancing the electrical demand on the generator.
Light Loads
Start with light loads. Light loads help the engine adjust to running conditions. For the first few hours, keep the load under 50% of the generator’s capacity. This helps the engine parts to seat properly.
Gradual Increase
Gradually increase the load. Increase it in small steps. This progressive load increase helps the engine adapt to higher demands. After the initial hours, increase the load to 75%. Run the generator at this load for a few more hours.
Finally, test the generator at full load. Ensure it can handle peak demand without issues. This step ensures the generator is fully broken in and ready for use.
Oil And Filter Changes
Keeping your generator in top shape is crucial. Regular oil and filter changes ensure your generator runs smoothly. This section will guide you on when and how to change the oil and filter.
When To Change
Changing the oil and filter at the right time is key. Here are the recommended intervals:
- Initial Break-In Period: Change oil and filter after the first 20 hours of use.
- Regular Maintenance: Change oil every 50-100 hours of use.
- Heavy Use: Change oil more frequently if the generator is used heavily.
Best Practices
Following best practices ensures your generator performs well. Here are some tips:
- Warm Up the Engine: Run the generator for a few minutes. This helps the oil flow better.
- Use the Right Oil: Check the manual for the recommended oil type and grade.
- Replace the Filter: Always replace the filter when changing the oil.
- Check for Leaks: After changing the oil, check for any leaks. Tighten connections if needed.
| Oil Change Interval | Filter Change Interval |
|---|---|
| Every 50-100 hours | Every oil change |
By following these steps, your generator will remain reliable. Regular maintenance is key to long-term performance.
Credit: resources.generatormart.com
Cooling System Care
Proper care of your generator’s cooling system ensures it runs efficiently. A well-maintained cooling system extends the life of your generator.
Importance Of Cooling
The cooling system prevents the generator from overheating. Overheating can damage the engine and other parts. A good cooling system helps maintain optimal temperature. This ensures smooth operation and reliability.
Maintenance Tips
Regular maintenance keeps the cooling system in top shape. Here are some tips:
- Check coolant levels: Ensure the coolant is always at the recommended level.
- Inspect hoses and belts: Look for wear and tear on hoses and belts. Replace if necessary.
- Clean radiator: Remove dirt and debris from the radiator fins.
- Monitor temperature gauge: Keep an eye on the temperature gauge during operation.
- Use the right coolant: Always use the manufacturer’s recommended coolant type.
| Maintenance Task | Frequency |
|---|---|
| Check coolant levels | Every use |
| Inspect hoses and belts | Monthly |
| Clean radiator | Quarterly |
| Monitor temperature gauge | Every use |
| Use the right coolant | Always |
Follow these maintenance tips for a healthy cooling system. This helps your generator perform at its best.
Fuel System Maintenance
Proper fuel system maintenance is essential for extending the life of your generator. A well-maintained fuel system ensures efficient operation and prevents potential breakdowns. This section will guide you through the important aspects of fuel system maintenance.
Choosing Quality Fuel
Using quality fuel is crucial for your generator’s performance. High-quality fuel reduces the risk of engine problems and promotes smooth operation.
- Opt for fresh fuel: Always use fresh fuel to prevent engine issues.
- Avoid ethanol blends: Ethanol can cause corrosion and damage the engine.
- Use recommended fuel type: Follow the manufacturer’s recommendations for the best results.
Preventing Contamination
Contaminated fuel can lead to serious engine problems. Preventing contamination is a key aspect of fuel system maintenance.
- Use clean containers: Store fuel in clean, sealed containers.
- Check for debris: Always inspect fuel for dirt or debris before use.
- Replace old fuel: Dispose of old fuel and replace it with fresh fuel regularly.
| Tip | Description |
|---|---|
| Filter fuel | Use a fuel filter to remove impurities before filling the generator. |
| Regular checks | Inspect fuel lines and connections for leaks or damage. |
Long-term Storage Tips
When you need to store your generator for a long time, it’s important to follow specific steps. Proper storage ensures your generator stays in good condition and is ready when you need it. This section will guide you through essential tips for storing your generator long-term.
Preparing For Storage
Before storing your generator, perform a few key actions. First, clean the exterior of your generator. Use a damp cloth to remove dirt and debris.
Next, drain the fuel from the tank. Fuel can go bad and damage the engine. To do this, run the generator until it stops.
After that, change the oil. Fresh oil keeps the internal parts lubricated. Use the recommended oil type for your generator.
Finally, remove the spark plug. Pour a small amount of oil into the cylinder. This prevents rust. Reinstall the spark plug without connecting the spark plug wire.
Regular Checks
Even in storage, you should check your generator regularly. Inspect it every three months.
Start by checking the oil level. Ensure it’s at the proper level. Add oil if needed.
Next, inspect the fuel system. Look for any leaks or cracks in the fuel lines.
Also, check the battery if your generator has one. Ensure it’s fully charged and in good condition.
Additionally, rotate the generator to a new position. This prevents the tires from developing flat spots if it has wheels.
| Task | Frequency |
|---|---|
| Check oil level | Every 3 months |
| Inspect fuel system | Every 3 months |
| Check battery | Every 3 months |
| Rotate generator | Every 3 months |
Following these long-term storage tips helps keep your generator in top shape. Proper maintenance ensures it works when you need it most.
Credit: 247compression.com
Frequently Asked Questions
What Is Generator Break-in Process?
The break-in process involves running the generator under specific conditions to ensure optimal performance and longevity.
How Long Should I Run A New Generator?
Run a new generator for about 2 hours initially, varying the load to ensure proper break-in.
Do I Need To Change Oil During Break-in?
Yes, change the oil after the first 5 hours of operation to remove any metal particles.
Why Is Generator Break-in Important?
Breaking in a generator is crucial for ensuring engine parts wear evenly, enhancing performance and extending lifespan.
Can I Use Synthetic Oil For Break-in?
Avoid synthetic oil during break-in. Use conventional oil to allow engine components to seat properly.
What Load Should I Apply During Break-in?
Apply a light load initially, gradually increasing it. This helps the engine adjust to different operating conditions.
Conclusion
Breaking in a generator ensures optimal performance and longevity. Follow the steps carefully to maximize efficiency. Regular maintenance is crucial for reliable operation. Remember, a well-maintained generator is an asset during emergencies. Keep these tips handy and enjoy peace of mind with a dependable power source.
Proper care leads to lasting benefits.