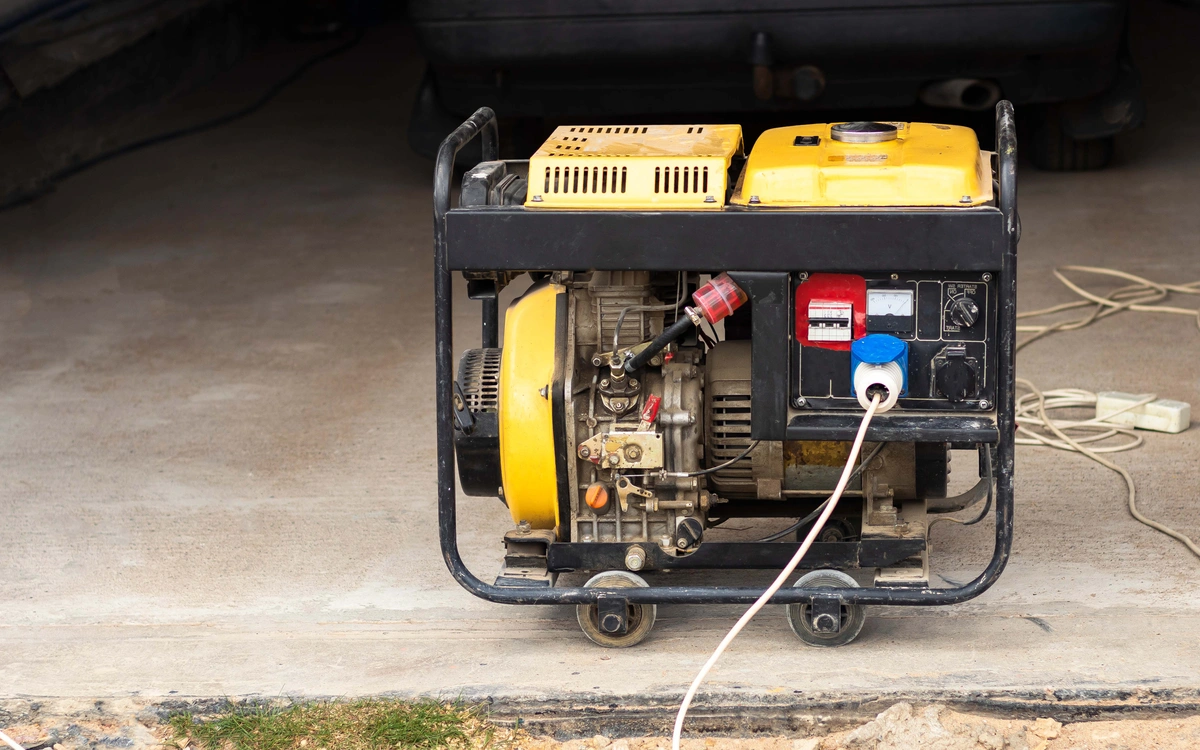
To change the oil in a generator, first, turn off the engine and let it cool. Then, drain the old oil and refill with new oil.
Regular oil changes ensure your generator runs efficiently and lasts longer. Clean oil lubricates engine parts, reducing wear and tear. This simple maintenance task can prevent costly repairs. Follow the manufacturer’s guidelines for oil type and change intervals. Prepare your workspace with necessary tools like an oil filter wrench, drain pan, and funnel.
Wear gloves to protect your hands from oil. Dispose of used oil responsibly by taking it to a recycling center. Regularly check oil levels and quality to keep your generator in top condition. Proper maintenance guarantees reliable performance during power outages.

Credit: waldeneffect.org
Gather Necessary Tools
Changing the oil in your generator is crucial for its longevity and performance. Before starting, gather all the necessary tools. This ensures a smooth and efficient oil change process. Below, we will detail the required tools and safety gear you need.
Required Tools List
- Oil Drain Pan: Catches old oil.
- Wrench Set: Removes the oil drain plug.
- Funnel: Helps pour new oil without spills.
- Oil Filter Wrench: Loosens the oil filter.
- New Oil Filter: Replaces the old, dirty filter.
- New Oil: Check your generator manual for the type.
- Clean Rags: Wipe any spills and keep the area clean.
Safety Gear
- Gloves: Protect your hands from hot oil and dirt.
- Safety Glasses: Guard your eyes from oil splashes.
- Protective Clothing: Wear old clothes or coveralls.

Credit: m.youtube.com
Prepare The Generator
Changing the oil in your generator is crucial. Proper preparation ensures a smooth process. Let’s dive into how to prepare your generator before changing its oil.
Choose A Suitable Location
First, choose a safe and level spot. This is important for stability and safety. Ensure the area is well-ventilated. Avoid enclosed spaces to prevent fumes buildup. A clean and dry surface is essential. This prevents any dirt from contaminating the oil.
Turn Off And Cool Down
Next, turn off the generator. This is crucial for safety. Let the generator cool down for at least 15 minutes. Hot oil can cause burns. Cooling down also allows the oil to settle. This makes draining more effective.
| Step | Description |
|---|---|
| Choose Location | Select a safe, level, and ventilated area. |
| Turn Off | Switch off the generator for safety. |
| Cool Down | Allow the generator to cool for 15 minutes. |
Following these steps will prepare your generator. Ready for a smooth oil change process.
Drain Old Oil
Draining the old oil from your generator is a crucial step. This ensures your generator runs smoothly and efficiently. Follow these simple steps to do it right.
Locate The Drain Plug
First, you need to find the drain plug. The drain plug is usually at the bottom of the generator. Check your owner’s manual if you cannot find it.
The drain plug may be covered by a small panel. Use a screwdriver to remove the panel if needed.
Use An Oil Pan
Before you open the drain plug, place an oil pan under the plug. This will catch the old oil as it drains out.
Make sure the oil pan is big enough to hold all the old oil. This will prevent any spills.
Once the oil pan is in place, use a wrench to loosen the drain plug. Allow the old oil to drain completely into the pan.
| Step | Action |
|---|---|
| 1 | Locate the drain plug |
| 2 | Place an oil pan under the plug |
| 3 | Loosen the drain plug with a wrench |
| 4 | Allow the oil to drain completely |
After the oil has drained, tighten the drain plug back. Dispose of the old oil properly. Most auto shops will take used oil for recycling.
Remove And Replace Oil Filter
Changing the oil in your generator is crucial for its longevity. One key step is removing and replacing the oil filter. This ensures clean oil circulates through the engine. Follow these simple steps to do it yourself.
Locate The Oil Filter
First, you need to locate the oil filter. It’s usually on the side of the engine. Refer to your generator’s manual if you have trouble finding it. Make sure the generator is off and cooled down before you start.
Prepare your workspace with necessary tools: a wrench, oil pan, and rags. Put on gloves to protect your hands. Have everything ready to make the process smooth.
Remove The Old Filter
Place the oil pan under the filter to catch any dripping oil. Use the wrench to loosen the filter. Turn it counterclockwise to remove it. Be careful as some oil may spill out.
Once the filter is off, clean the area around it. Use a rag to wipe away any excess oil. This ensures a clean surface for the new filter.
Install New Filter
Now, take the new oil filter and apply a thin layer of oil to the gasket. This helps create a good seal. Screw the new filter onto the engine by turning it clockwise.
Tighten the filter by hand until it’s snug. Do not over-tighten as it can cause damage. Check the manual for specific instructions if needed.
Double-check everything to ensure there are no leaks. Dispose of the old filter properly. You’re now ready to add new oil to your generator.
Changing the oil filter is a simple task. It keeps your generator running smoothly. Follow these steps for a hassle-free experience.
Add New Oil
Adding new oil to your generator is a crucial step. It ensures the smooth operation and longevity of your machine. Follow these simple steps to get it right.
Select The Right Oil
Choosing the correct oil is essential. Refer to your generator’s manual to find the recommended oil type. Most generators use 4-stroke engine oil. Check the viscosity rating on the oil bottle. Common ratings are SAE 10W-30 or SAE 5W-30. Using the right oil improves performance and extends the life of your generator.
Pour Oil Carefully
Start by placing a funnel into the oil fill hole. This helps prevent spills. Slowly pour the oil into the funnel. Do not overfill. Check the oil level with the dipstick. Ensure it reaches the full mark. Overfilling can damage the engine. Once done, secure the oil cap tightly. Dispose of any leftover oil responsibly.
Check Oil Level
Ensuring your generator has the right oil level is crucial. It keeps your generator running smoothly. This step helps prevent damage and extends the generator’s life.
Use The Dipstick
First, locate the dipstick on your generator. The dipstick is usually near the oil fill cap. Pull the dipstick out carefully.
Wipe it clean with a cloth or paper towel. Insert the dipstick back into its tube. Make sure it goes all the way in. Pull it out again to check the oil level.
Look at the markings on the dipstick. They will indicate if the oil level is low, adequate, or too high.
Adjust Oil If Necessary
If the oil level is too low, add more oil. Use the same type of oil recommended by the manufacturer. Pour the oil slowly to avoid overfilling.
Check the oil level again with the dipstick. Repeat until the oil reaches the right level.
If the oil level is too high, you need to remove some oil. Use a small pump or syringe to take out the excess oil. Check the oil level again to ensure accuracy.
Always secure the dipstick and oil fill cap tightly after adjustments.
Regular oil checks keep your generator in top condition. Make this a routine part of your generator maintenance.
Dispose Of Old Oil
Proper disposal of old oil is crucial. It helps protect the environment. Follow these simple steps to dispose of old oil safely.
Store Old Oil
First, use a clean container with a tight lid. Pour the old oil into the container carefully. Make sure there are no leaks. Label the container as “Used Oil”. Store it in a cool, dry place. Keep it away from children and pets.
Find Disposal Location
Next, find a proper disposal location. Many places accept used oil. These include:
- Auto repair shops
- Recycling centers
- Hazardous waste facilities
Check online for local disposal sites. Call them to confirm they accept used oil. Take the container to the chosen location. Hand it to the staff for proper disposal.
Remember, never pour old oil down the drain. Avoid dumping it on the ground. These actions harm the environment. Dispose of old oil responsibly. You help keep the planet clean.
Credit: hellosuper.com
Restart And Check Generator
After changing the oil in your generator, it’s crucial to restart and check its performance. This ensures that everything runs smoothly and there are no issues. Follow these steps to restart and inspect your generator.
Turn On The Generator
Begin by turning on the generator. Locate the power switch, usually on the side or front. Switch it to the ‘On’ position. Pull the starter cord gently until you feel resistance, then pull it quickly to start the engine. For electric start models, simply press the start button.
Inspect For Leaks
Once the generator is running, inspect it for any oil leaks. Look around the oil filter and drain plug. Check the oil fill cap area as well. Use a flashlight to see better. If you find any leaks, turn off the generator immediately and fix the issue. Tighten any loose parts or replace seals as needed.
Frequently Asked Questions
How Often Should I Change Generator Oil?
Change generator oil every 50-60 hours of use or after 6 months.
What Type Of Oil Is Best For Generators?
Use SAE 10W-30 or 5W-30 oil for most generators. Always check the manufacturer’s recommendation.
Can I Use Synthetic Oil In My Generator?
Yes, synthetic oil is suitable and provides better performance in extreme temperatures.
How Do I Dispose Of Used Generator Oil?
Dispose of used oil at recycling centers or auto shops. Avoid pouring it down drains.
What Tools Are Needed For An Oil Change?
You need a wrench, oil filter, funnel, oil container, and clean rags.
Why Is Changing Generator Oil Important?
Regular oil changes ensure efficient performance and extend the generator’s lifespan.
Conclusion
Changing the oil in your generator is essential for its longevity. Regular maintenance ensures smooth operation and prevents costly repairs. Follow the steps outlined, and your generator will run efficiently. Remember, a well-maintained generator is always ready when you need it.
Keep your equipment in top shape with these simple tips.