To troubleshoot Kitchenaid ice maker issues, first check power supply and water line connections. Clean the unit regularly to prevent clogs.
A malfunctioning ice maker can be frustrating, especially when you’re craving a cold drink on a hot day. Fortunately, troubleshooting the Kitchenaid ice maker is a manageable task that can save you time and money. By following a few simple steps, you can quickly identify and resolve common problems that may be hindering your ice maker’s performance.
In this guide, we will outline some practical solutions to help you get your ice maker back up and running smoothly. Let’s dive in and explore how to troubleshoot your Kitchenaid ice maker effectively.
Identifying Common Issues
If your Kitchenaid ice maker is giving you trouble, it’s important to identify common issues. Look out for low water pressure, clogged water filter, or a faulty water inlet valve. Regular maintenance can prevent these problems and keep your ice maker running smoothly.
Ice Maker Not Producing Ice
Check water supply, ensure water valve is open. Inspect water filter, replace if clogged. Examine water inlet valve, clean or replace if faulty.
Ice Cubes Too Small Or Large
Adjust water flow rate. Check ice maker settings, calibrate if needed. Verify water pressure is adequate for ice production.
Water Leakage Problems
Inspect water line connections for leaks. Ensure proper leveling of ice maker. Clean drain pump and tubing to prevent blockages.
Initial Steps Before Troubleshooting
Before you start troubleshooting your Kitchenaid ice maker, there are a few initial steps you should take to ensure that the problem is not something simple that you can fix without calling a repairman. These steps include:
Checking Power Supply
The first step is to ensure that the ice maker is receiving power. Check the power cord to make sure it is plugged in properly and that the outlet is working. You can also try plugging another appliance into the same outlet to see if it works. If the outlet is not working, try resetting the circuit breaker or replacing the fuse.
Inspecting Water Supply Line
The next step is to check the water supply line. Make sure the water supply valve is turned on and that the line is not kinked or clogged. If the water supply line is frozen, turn off the ice maker and the water supply valve, and wait for the line to thaw before turning them back on.
Ensuring Proper Freezer Temperature
Finally, make sure that the freezer temperature is set to the proper temperature. The ideal temperature for an ice maker to function is between 0 and 5 degrees Fahrenheit. If the temperature is too warm, the ice maker may not work properly. Check the temperature setting on the freezer and adjust it if necessary.
By checking these initial steps before troubleshooting your Kitchenaid ice maker, you may be able to fix the problem yourself without having to call a repairman. However, if the problem persists, it may be time to call in a professional.
Quick Fixes For No Ice Production
When your Kitchenaid ice maker stops producing ice, there are several quick fixes you can try before calling for professional help.
Resetting The Ice Maker
If the ice maker is not producing ice, try resetting it by unplugging it for a few minutes and then plugging it back in. This can often resolve minor issues causing the ice maker to malfunction.
Unclogging The Fill Tube
Check the fill tube for any blockages that may be preventing water from reaching the ice maker. Clear any obstructions using a small brush or pipe cleaner to ensure proper water flow.
Replacing The Water Inlet Valve
If the water inlet valve is faulty, it can impede the flow of water to the ice maker. Consider replacing the water inlet valve to restore proper water supply and enable ice production.

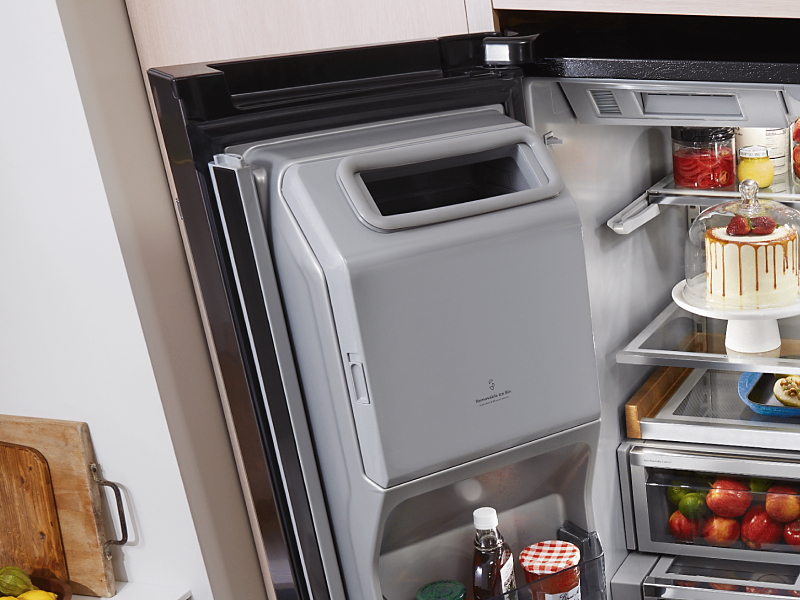
Credit: www.kitchenaid.com
Solutions For Ice Size Issues
Adjusting The Ice Maker Settings
If your Kitchenaid ice maker is producing ice cubes that are too small or too large, you may need to adjust the ice maker settings. Start by locating the control panel on your ice maker. Next, refer to the user manual to find the specific instructions for adjusting the ice size settings. Typically, you can make these adjustments by pressing the designated buttons on the control panel. Remember to consult the user manual for the precise steps and ensure that the ice maker is set to the desired ice size.
Checking The Water Filter
A clogged or dirty water filter can impact the size of the ice cubes produced by your Kitchenaid ice maker. Firstly, locate the water filter in your ice maker. Then, follow the manufacturer’s instructions to remove and inspect the filter. If the filter appears dirty or clogged, it may need to be cleaned or replaced. Regular maintenance of the water filter is crucial for ensuring the proper size and quality of the ice cubes.
Examining The Water Pressure
Inadequate water pressure can also result in improperly sized ice cubes. Begin by checking the water supply to the ice maker. Verify that the water pressure meets the requirements outlined in the user manual. You may need to adjust the water valve to increase the water pressure. Additionally, inspect the water supply line for any kinks or obstructions that could be affecting the flow of water to the ice maker.
Handling Water Leakage
Handling water leakage in your KitchenAid ice maker is crucial to ensure its optimal performance. Water leakage can lead to various issues, such as decreased ice production and potential damage to the appliance. By addressing water leakage promptly, you can prevent further complications and extend the lifespan of your ice maker.
Sealing Connection Points
Check the connection points of your KitchenAid ice maker to identify any potential leaks. Tighten the connections to ensure they are secure and properly sealed. Use a wrench to tighten any loose fittings, such as the water supply line and the inlet valve. Inspect the seals for signs of wear and tear, and replace them if necessary to prevent water leakage.
Replacing The Drain Cap
If you notice water pooling around the ice maker, the drain cap may be damaged or misaligned. Remove the drain cap and inspect it for any cracks or defects. Replace the drain cap with a new one to create a proper seal and prevent water from leaking out of the appliance. Ensure that the new drain cap is securely positioned to prevent any future leakage issues.
Fixing The Drain Pump
If the drain pump is malfunctioning, it can lead to water leakage in your KitchenAid ice maker. Inspect the drain pump for any clogs or obstructions that may be causing the leakage. Clean the pump thoroughly and ensure that it is free from any debris. If the pump is damaged, consider replacing it to resolve the water leakage issue effectively.
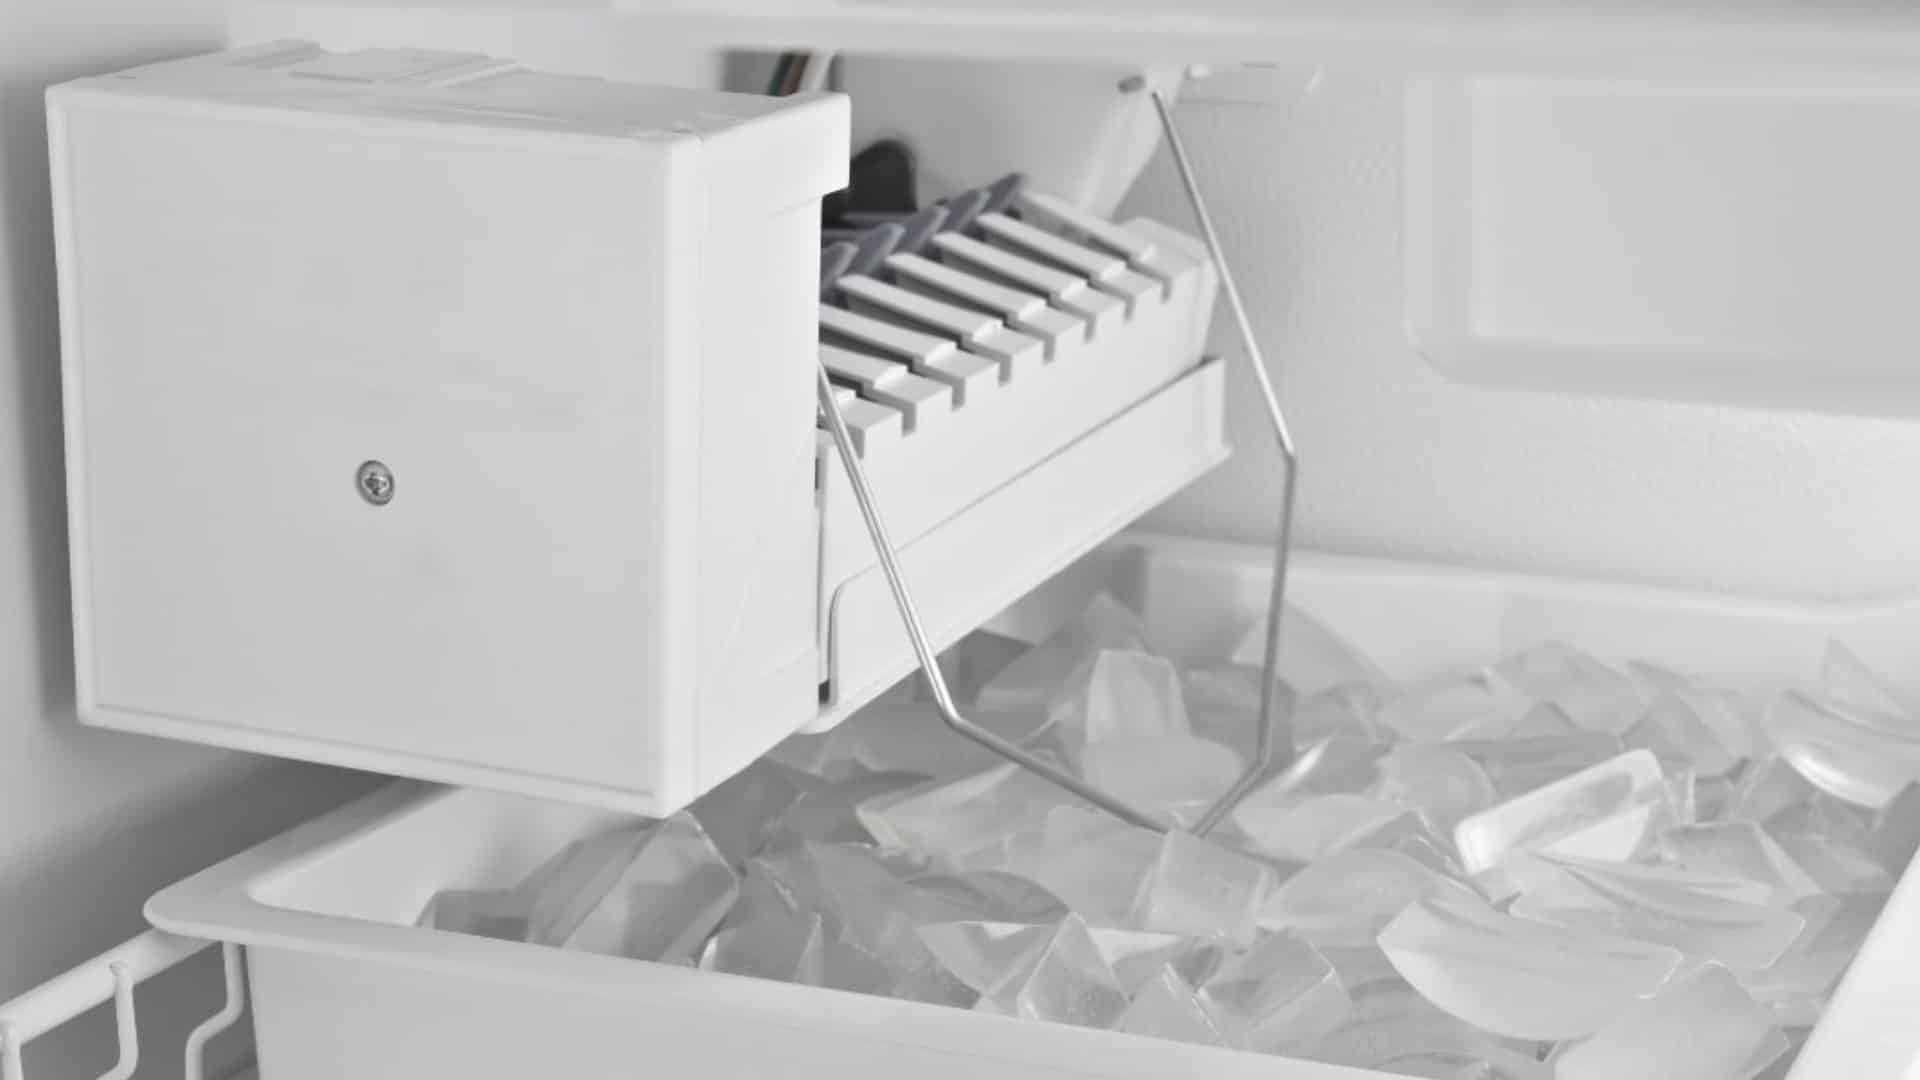
Credit: www.kitchenaid.com
Maintenance Tips To Prevent Future Issues
Regular Cleaning Schedule
Regularly clean the Kitchenaid ice maker to prevent clogs and mold buildup.
Use warm water and mild detergent to clean the interior and exterior surfaces.
Wipe down the ice maker with a soft cloth to keep it looking and functioning its best.
Changing The Water Filter Regularly
Change the water filter every 6 months to ensure clean and fresh ice production.
Follow the manufacturer’s instructions for the correct filter replacement process.
Regular filter changes help maintain ice quality and prolong the machine’s lifespan.
Monitoring Freezer Temperatures
Check freezer temperatures regularly to keep the ice maker working efficiently.
Ensure the freezer is set to the recommended temperature for optimal ice production.
Adjust the temperature settings if needed to prevent ice production issues.
Advanced Troubleshooting Techniques
If you are facing issues with your Kitchenaid ice maker, then you may need to perform advanced troubleshooting techniques to identify the root cause of the problem. In this article, we will discuss some of the most common issues that occur with Kitchenaid ice makers and the steps you can take to diagnose and fix them.
Diagnostic Tests
The first step in troubleshooting your Kitchenaid ice maker is to perform diagnostic tests to identify any underlying issues. These tests will help you determine whether there are any issues with the ice maker’s components, such as the water inlet valve, ice maker mold thermostat, or ice maker module.
To perform diagnostic tests, you will need to follow the instructions provided in your Kitchenaid ice maker’s user manual. Typically, these tests involve checking the temperature of the freezer, testing the water inlet valve, and checking for any ice blockages in the ice maker’s mold.
Electronic Control Board Issues
If your diagnostic tests reveal that the ice maker’s components are functioning correctly, then you may need to check the electronic control board. The control board is responsible for regulating the ice maker’s functions, such as the ice maker mold heater, water inlet valve, and ice maker motor.
To check the electronic control board, you will need to use a multimeter to test for continuity in the board’s circuits. If you find that the control board is faulty, then you may need to replace it with a new one.
Motor And Gear Function Checks
If your ice maker is still not functioning correctly, then you may need to check the motor and gear functions. The motor and gears work together to rotate the ice maker’s mold and eject the ice cubes into the bin.
To test the motor and gears, you will need to remove the ice maker from the freezer and inspect the motor and gears for any signs of damage or wear. You should also test the motor and gears for continuity using a multimeter.
If you find that the motor or gears are faulty, then you may need to replace them with new ones. Alternatively, if you are not comfortable with replacing these components yourself, then you should contact a professional technician to assist you.
By following these advanced troubleshooting techniques, you can diagnose and fix most issues that occur with your Kitchenaid ice maker. Remember to always follow the instructions provided in your user manual, and if you are unsure about any aspect of the troubleshooting process, then seek professional assistance.
Credit: viaappliance.com
When To Seek Professional Help
If your Kitchenaid ice maker is malfunctioning, it’s time to seek professional help. Common issues like no ice production, slow ice making, or unusual noises may require expert troubleshooting to ensure your ice maker is back up and running efficiently.
Identifying Complex Problems
Benefits Of Certified Technicians
Warranty Considerations
When to Seek Professional Help: If basic troubleshooting methods fail, or if the issue seems complex, it’s time to seek professional help.Identifying Complex Problems – Unusual noises or vibrations – Consistent leaks or water flow issues Benefits of Certified Technicians – Specialized training – Access to genuine parts – Efficient problem diagnosis Warranty Considerations – Ensures warranty validity – Prevents voiding warranty – Cost-effective repairsFrequently Asked Questions
How Do I Reset My Kitchenaid Ice Maker?
To reset your KitchenAid ice maker, locate the power switch, turn it off, wait 5 minutes, then turn it back on.
Why Is My Kitchenaid Ice Maker Not Making Ice?
Ensure the KitchenAid ice maker is connected to water supply, check water filter, and inspect for any blockages.
How Do I Know If My Ice Maker Is Clogged?
If your ice maker is clogged, it may produce less or no ice. Check for reduced ice production or water leakage around the unit. Also, listen for any unusual sounds during the ice-making process. If you notice these signs, your ice maker may be clogged.
Why Does My Kitchenaid Ice Maker Keep Freezing Up?
The KitchenAid ice maker may keep freezing up due to a clogged water filter or a malfunctioning inlet valve. Regularly clean the filter and check for any water flow issues to prevent freezing.
Why Is My Kitchenaid Ice Maker Not Making Ice?
Your Kitchenaid ice maker may not be making ice due to a clogged water filter or a malfunctioning water inlet valve.
Conclusion
Troubleshooting your Kitchenaid ice maker can be a straightforward process with the right guidance. By following the steps outlined in this blog post, you can quickly identify and resolve common issues. Regular maintenance and proper usage are key to ensuring the optimal performance of your ice maker.
Keep these tips in mind to enjoy a constant supply of ice for your beverages and culinary creations.